Are you tired of dealing with a garage door remote or concerned about security when you leave or arrive home? Learning how to connect your garage door opener to your car can be a game-changer. It not only streamlines your daily routine but also adds an extra layer of convenience and security to your home.
In this comprehensive guide, we’ll take you through the step-by-step process of how to connect your garage door opener to your car. Whether you’re a seasoned DIY enthusiast or a novice looking to upgrade your home automation, we’ve got you covered. With our detailed instructions and easy-to-follow tips, you’ll enjoy the seamless integration of your garage door opener with your car in no time.
So, if you’re ready to simplify your life and enhance the safety of your home, let’s dive into the world of connecting your garage door opener to your car. Get ready to say goodbye to the hassle and hello to effortless access every time you come and go.
Connecting your garage door opener to your car offers enhanced convenience by allowing you to open and close your garage door directly from your vehicle. This is especially useful in bad weather or when you need quick access to your garage without using a separate remote control. Follow this detailed guide on how to connect your garage door opener to your car’s built-in transmitter, ensuring the setup is done safely and effectively.
What You Need
Before you begin, it’s important to gather all the necessary tools and information. Here’s what you’ll need:
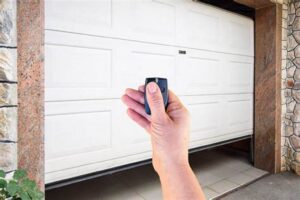
Garage Door Opener Remote
- Purpose: This remote is your primary tool for activating your garage door manually and is essential for synchronizing with your car’s transmitter.
- Details to Check: Ensure the remote is fully functional and the batteries are fresh. Problems with the remote can often be traced back to weak batteries or damaged buttons.
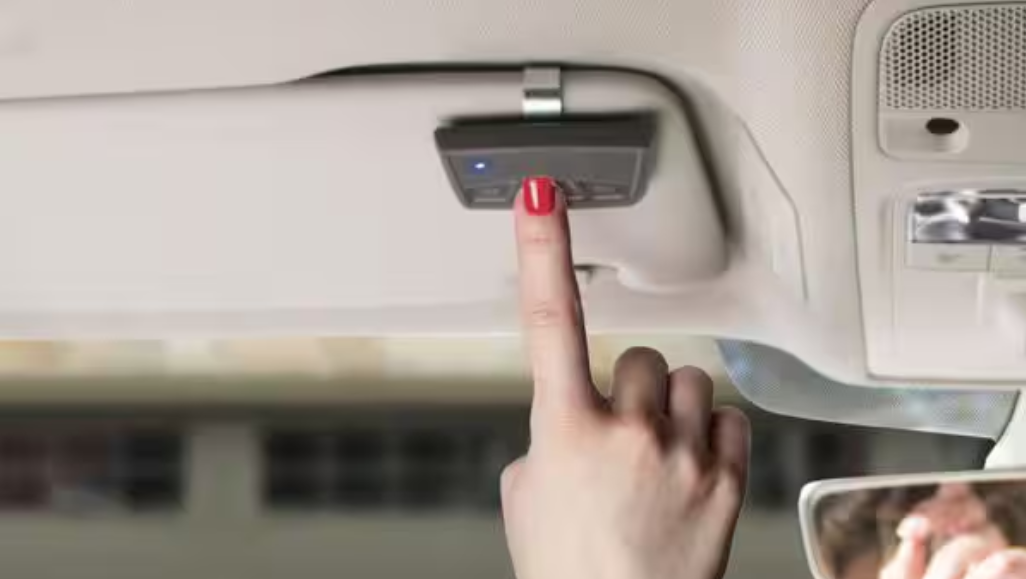
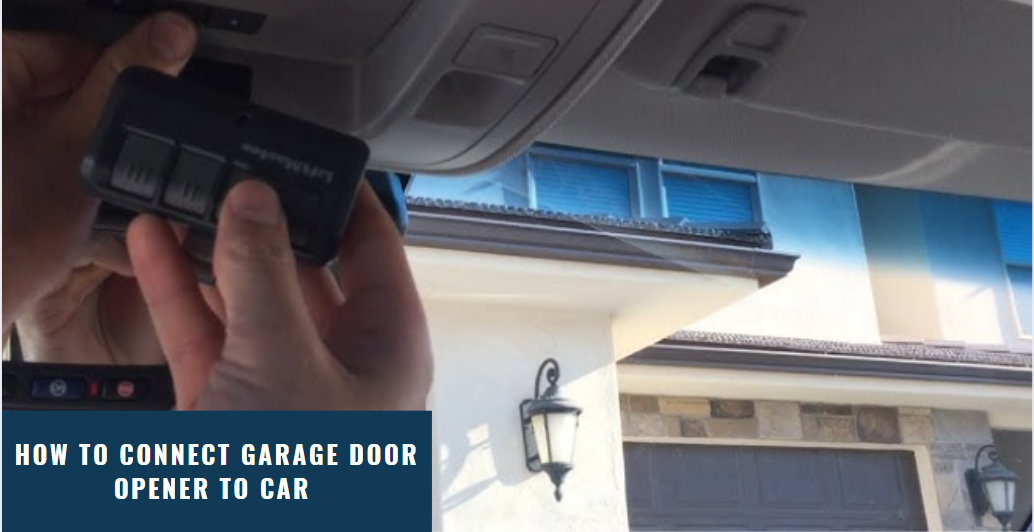
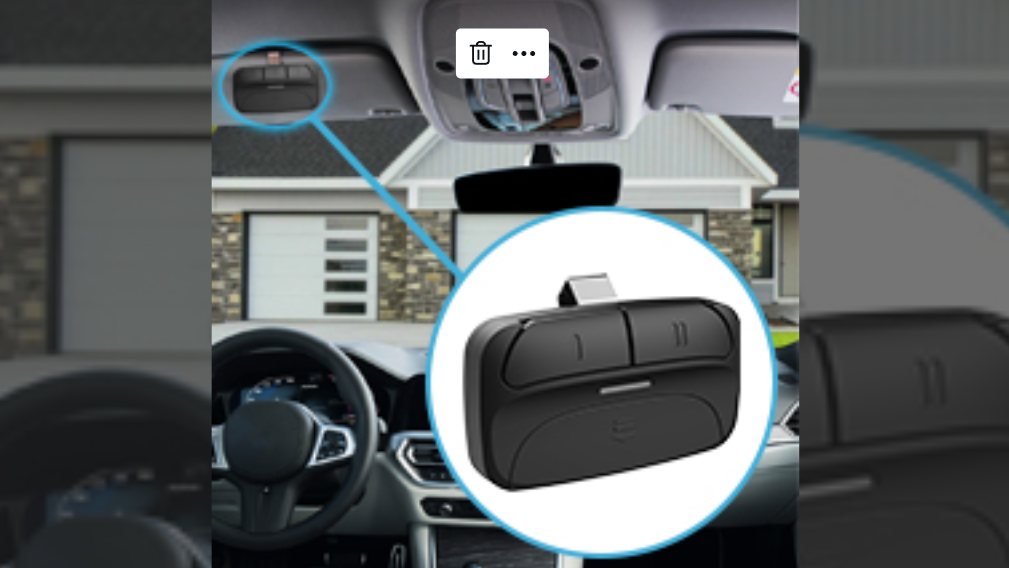
Built-in Car Garage Door Transmitter
- Location and Identification: Typically located in the car’s overhead console or sun visor, this built-in feature allows you to control your garage door directly from inside your vehicle. Some cars may have the transmitter integrated into the dashboard or mirror, depending on the make and model.
- Functionality: The transmitter usually includes one to three buttons that can be programmed to operate different garage doors or gates. The exact programming steps can vary, so knowing where your car’s transmitter is and how it functions is crucial.
Your Garage Door Opener’s Manual
- Importance of the Manual: This manual is your go-to resource for specific programming instructions related to your particular garage door opener model. It contains crucial information about the opener’s capabilities, limitations, and safety features.
- Where to Find It: If you’ve misplaced the physical copy of the manual, most manufacturers provide digital versions available for download on their websites. Simply search for the make and model of your opener to find the appropriate manual.
By ensuring you have these three essential components, you can prepare to connect your garage door opener to your car’s transmitter with greater ease and accuracy. This preparation step is critical for a smooth and successful setup process.
Step-by-Step Guide
1. Prepare Your Garage Door Opener
Check Compatibility:
- Understanding Compatibility: Modern garage door openers typically operate on frequencies between 300 MHz and 390 MHz, and most built-in car transmitters are designed to work with these frequencies. However, there are variations in technology, especially with older models or advanced systems featuring encryption and rolling codes.
- Consult Your Manuals: Always refer to the garage door opener’s manual to verify frequency and compatibility. The manual should list the specifications and any proprietary technology used that may affect compatibility. Similarly, your vehicle’s owner’s manual or a quick online search for your model plus “garage door programming” can provide information on its transmitter’s compatibility.
- Look for Brand-Specific Issues: Some brands may have specific pairing requirements or known issues with certain types of openers. Checking online forums or customer service resources can provide additional insights.
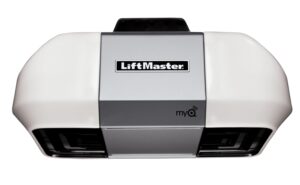
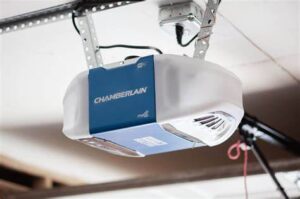
Locate the Learn Button:
- Finding the Learn Button: The Learn button is crucial for syncing your car’s transmitter with the garage door system. On most garage door opener units, this button is located directly on the motor unit, which will often be mounted on the ceiling of your garage. The button may be colored differently (commonly yellow, red, or purple) to distinguish it from other buttons.
- Accessing the Button: In some cases, the Learn button may be concealed behind the light cover or a small panel on the motor unit to prevent accidental presses. You may need a ladder to safely reach it. Always ensure the ladder is stable and positioned securely before attempting to access the motor unit.
- Safety Precautions: Before pressing the Learn button, ensure that the garage area is clear of objects and people, particularly near the garage door itself. This is a precaution since activating the programming mode might cause the door to move unexpectedly.
Following these detailed steps ensures that your garage door opener is ready for a smooth and safe connection to your car’s built-in transmitter. Taking the time to prepare and understand your equipment’s specific requirements properly can save time and help avoid issues during the programming phase.
2. Clear Existing Programming (If Necessary)
Before you start programming your car’s garage door opener transmitter to a new system, it’s essential to clear any existing settings. This step prevents any potential interference or confusion from previous programming, ensuring a clean slate for the new setup.
Reset Transmitter:
Purpose: Clearing the transmitter is crucial if your car was previously programmed to operate another garage door or if you’re experiencing issues with the current programming.
Procedure:
- Locate the Buttons: Identify the buttons on your vehicle’s built-in transmitter. These are usually found on the overhead console, visor, or rearview mirror.
- Press and Hold: To reset, press and hold down all the buttons simultaneously. The length of time required can vary by vehicle model, but typically, holding the buttons for about 20 to 30 seconds should suffice.
- Indicator Signal: Watch for an indicator light (often an LED) that might blink or change color to confirm that the existing codes have been cleared. Some models of cars will also provide an audible beep or flash the vehicle’s lights as confirmation.
- Release Buttons: Once you observe the confirmation signal, release the buttons. Your transmitter is now cleared of old programming and ready for new instructions.
Why Clearing is Important:
- Avoids Signal Confusion: Clearing old programming helps to prevent your transmitter from sending mixed or incorrect signals to your garage door opener.
- Ensures Secure Access: By resetting the transmitter, you eliminate any previously granted access that is no longer needed or secure. This is particularly important if you’ve recently moved into a new home or purchased a used car that had been programmed into another garage.
Check for Multiple Memory Slots:
- Multiple Buttons: If your transmitter has multiple buttons, each one can typically be programmed independently. This means you might need to clear each button separately if they were previously programmed to different doors or gates.
- Specific Button Reset: In some cases, you may choose to reset only one button at a time. This is useful if you want to maintain some existing programming while updating or changing another button. Refer to your vehicle’s owner’s manual for detailed instructions on how to manage individual buttons.
Clearing the existing programming on your vehicle’s garage door transmitter, you create a clean foundation for new programming, ensuring that your car communicates effectively and securely with your garage door opener.
3. Connecting the Two Systems
Once you have prepared your garage door opener and cleared any existing programming from your car’s transmitter, the next step is to synchronize the two systems. This process involves interacting with the “Learn” button on your garage door opener and the programmable buttons on your car’s built-in transmitter.
Synchronization Steps:
- Activate Learning Mode on the Garage Door Opener:
- Locate the Learn Button: Find the “Learn” button on your garage door opener unit. This button is typically on the back or side of the unit, possibly under a light cover.
- Press the Learn Button: Press and release the “Learn” button. This will activate the learning mode, which usually lasts for about 30 seconds. A light might flash to indicate that the opener is ready to learn a new remote.
- Locate the Learn Button: Find the “Learn” button on your garage door opener unit. This button is typically on the back or side of the unit, possibly under a light cover.
- Program the Car’s Transmitter:
- Select the Desired Button: Inside your car, choose which button you want to program on your vehicle’s transmitter. If your transmitter has multiple buttons, select one that isn’t already programmed or has been cleared.
- Press and Hold the Button: Firmly press and hold the selected button in your car. Hold the button down until the garage door opener’s light blinks, indicating successful programming. This usually takes about 20-30 seconds.
- Select the Desired Button: Inside your car, choose which button you want to program on your vehicle’s transmitter. If your transmitter has multiple buttons, select one that isn’t already programmed or has been cleared.
- Test the Connection:
- Press the Programmed Button: After the light blinks, release the button and then press it again to test if the garage door responds by opening or closing. If the door moves, the programming is successful.
Troubleshooting Common Issues:
- No Response from Garage Door:
- Check Distance: Ensure your car is within range of the garage door opener during programming. If it is too far away, the signal may not be strong enough.
- Reattempt Programming: If the first attempt doesn’t work, repeat the process, ensuring you press and hold the button long enough.
- Check Opener’s Power: Ensure that your garage door opener is plugged in and powered on. Sometimes circuit breakers can trip, affecting power to the garage.
- Check Distance: Ensure your car is within range of the garage door opener during programming. If it is too far away, the signal may not be strong enough.
- Intermittent Operation:
- Battery Check: Inspect the batteries in your vehicle’s transmitter and the garage door remote. Weak batteries are a common cause of poor performance.
- Signal Interference: Other electronics, such as LED lights and wireless devices in your garage, can interfere with the signal. Try turning off potential interference sources to see if this improves the connection.
- Battery Check: Inspect the batteries in your vehicle’s transmitter and the garage door remote. Weak batteries are a common cause of poor performance.
- Garage Door Reverses Immediately:
- Obstruction Sensor: Check for any obstructions in the garage door’s path or misaligned safety sensors at the base of the door tracks. Remove any obstructions and ensure sensors are properly aligned and clean.
- Limit Settings: Sometimes, incorrect limit settings on the garage door opener can cause the door to reverse. Consult your opener’s manual to adjust these settings correctly.
- Obstruction Sensor: Check for any obstructions in the garage door’s path or misaligned safety sensors at the base of the door tracks. Remove any obstructions and ensure sensors are properly aligned and clean.
By following these steps and tips, you should be able to successfully connect your car’s built-in garage door transmitter to your garage door opener, enhancing the convenience and functionality of your garage system. If problems persist, consulting the manufacturer’s support or a professional technician is advisable.
Testing the Connection
Once you’ve successfully programmed your car’s transmitter with the garage door opener, testing the connection is a crucial final step. This ensures that the synchronization has been done correctly and that the garage door will reliably respond to commands from your car.
Why Testing is Important:
- Verify Successful Programming: Testing confirms that the car’s transmitter and garage door opener are properly communicating.
- Safety Check: It’s vital to ensure that the garage door opener operates smoothly and safely from your car, avoiding any potential accidents or malfunctions.
Steps for Testing the Connection:
- Operate the Door:
- Initial Test: Press the newly programmed button inside your car to open or close the garage door. Observe if the door responds to the first command.
- Multiple Tests: To ensure consistent performance, try operating the door several times, with pauses in between. It’s helpful to test from various distances within a typical range to confirm reliability.
- Initial Test: Press the newly programmed button inside your car to open or close the garage door. Observe if the door responds to the first command.
- Adjust Positioning If Necessary:
- Check Vehicle Placement: If the door doesn’t respond, adjust the position of your vehicle relative to the garage door opener. Sometimes, certain angles or distances may obstruct or weaken the transmitter’s signal.
Troubleshooting Tips if the Connection Fails:
- Repeat Programming Steps: If the garage door does not respond, repeat the programming steps to ensure every procedure is followed correctly. It’s possible that the learning mode timed out before the car’s transmitter could be programmed.
- Signal Interference: Check for anything that might interfere with the signal between your car’s transmitter and the garage door opener. Common sources of interference include LED lights and other electronic devices in or near your garage.
- Battery Check: Ensure that the batteries in your car’s transmitter are fresh. Low battery power might not send a strong signal to the garage door opener.
- Reset and Re-try: If initial troubleshooting doesn’t resolve the issue, try resetting your car’s transmitter again and reprogramming it. Occasionally, electronic devices can experience glitches that a reset may resolve.
- Consult the Manuals: Revisit both your car’s and garage door opener’s manuals. There may be specific troubleshooting steps or settings adjustments recommended by the manufacturers.
- Professional Assistance: If you continue to have difficulties after trying these troubleshooting steps, it might be time to consult a professional. A technician can provide a thorough inspection and resolve more complex issues that aren’t easily diagnosed at home.
Testing the connection comprehensively and troubleshooting any issues promptly will ensure that your garage door opener works reliably from your car, providing convenience and security for your daily routine.
FAQs: How to Connect Your Garage Door Opener to Your Car
- What do I do if my car doesn’t have a built-in garage door opener?
Consider installing a universal garage door opener that can be added to vehicles without one. - Can I connect more than one garage door opener to my car?
Yes, most systems allow you to program multiple openers to one vehicle. - What safety precautions should I take while programming the garage door opener?
Ensure your garage door is clear of obstacles and people to prevent accidents. - How do I reset the garage door opener connection in my car?
Refer to your vehicle’s manual for instructions on resetting the programming settings. - Where can I find the learn button on my garage door opener?
The learn button is usually located on the back or side of the garage door opener unit.
Conclusion
Understanding how to connect your garage door opener to your car brings substantial benefits, enhancing both the convenience and security of your home. If you follow the steps outlined but still face difficulties or have additional questions, do not hesitate to reach out for professional assistance. Residents of Kansas City can rely on Team Taylor Door, a leading provider of garage door repair and maintenance. They offer expert services and practical guides to help you manage your garage door system efficiently.
Kansas City residents can trust Team Taylor Doors, a leading provider of garage door repair in Kansas City. We offer expert services and practical guidance to help you manage your garage door system with ease. Contact us today for assistance and ensure your garage door is operating at its best!
End Note
For dependable garage door solutions, especially if you need to know how to connect your garage door opener to your car, trust the experts at Team Taylor Door in Kansas City. Our commitment to professionalism and high-quality service ensures that your garage door operates smoothly and securely. Rely on us for comprehensive support and maintenance that optimizes your garage door system. Whether it’s routine upkeep or more complex connectivity issues, our skilled technicians are here to assist you.